Want a new, elegant way to tag your gifts this year? I've been making these "ribbon gift tags" for years. I use them as a fancy-pants way to identify who-gets-what...for Christmas as well as other gift-giving occasions.
Here's my tutorial, and in the days to come, I'll also show you how to make variations, including envelopes and bags.
Supplies you'll need:
- Nylon organza ribbon - my favorite width is 2 3/4" (but you can use 2" or 2 1/2" ribbon if that's what you have). I'll show you how to use much narrower ribbon in a future post. I have a stash of this 2 3/4" ribbon which I found at a holiday expo show, but I've run out of the red (used the last of it for this tute), and I found this vendor that carries the same ribbon, which is a bit heftier (and cheaper!) than the nylon organza ribbon that JoAnn's sells: 2 3/4" Shimmer Sheer Ribbon.
- Beads - "E" beads and/or seed beads work well, and I also use tri-beads to jazz up the hanging loop
- Needles - beading or milliners, or any small needle what will pass through your chosen beads, and also embrodery/tapestry to thread the tri-beads on the hanging loop (optional)
- Thread
- Scissors
- Cardstock or heavy paper
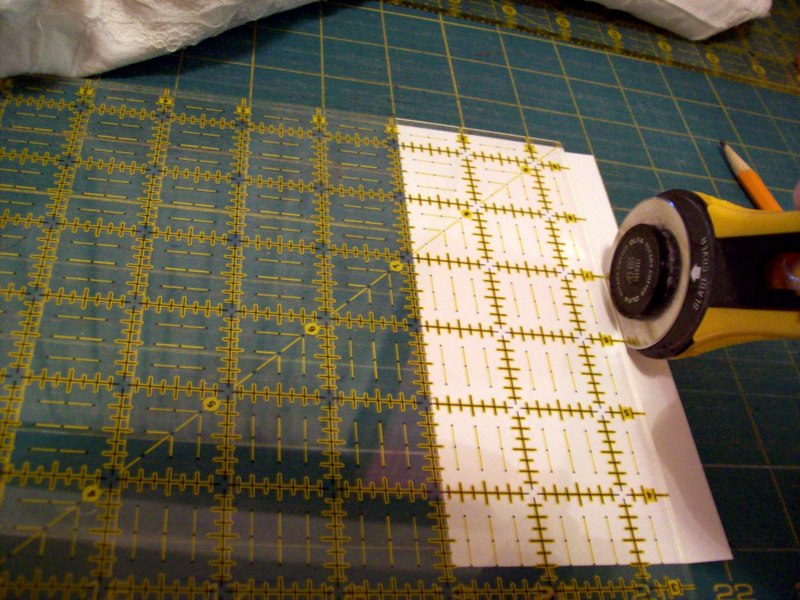
- Helpful: Rotary cutter, ruler, mat. Rubber-stamping supplies. Sewing machine.
Let's get started. Cut a piece of ribbon about 13-14" long.
At the sewing machine, fold the ribbon in half lengthwise and sew a 1/4 or 3/8" seam along one narrow end. (You could also hand-sew this, or possibly use a product such as Steam-A-Seam.)
Trim the corner at the fold, to reduce bulk. Heh, heh, heh...that's an empty Cesar dog food tray holding some empty bobbins in the picture...I use those little trays for EVERYthing!
Turn the ribbon at the point, and flatten, centering the seam.
Turn the ribbon over, and fold the bottom end of the ribbon up about 3" or so, depending on how long you cut the ribbon, how deep you want the pocket, and how much room you want for the card to stick up above the pocket . Fold up one more time. And pin in place. This makes a very nice "pocket" without a visible hem - it seems to "float." If you wish, press the ribbon to flatten and crease - use low heat, though, or your ribbon may melt!
Using either seed beads, or "E" beads, and a needle (check to make sure your beads will fit on the needle!) and thread, hand-sew the sides of the ribbon where the triple-thickness of ribbon forms the "pocket," sewing the beads to the right side of the tag. Space the beads about 1/4" apart, or as desired to achieve the look you want. Sometimes I alternate a seed bead with an "E" bead.
Sew/bead both sides of the pocket.
Both sides are sewn/beaded. Does it look like a tag now?
For the hanger, take about 12-14" of a narrower matching or coordinating ribbon and trim both ends on the diagonal, to make it easier to thread the ribbon onto an embroidery/tapestry needle (or you may just be able to poke the diagonal ends right through the tri-beads). Thread 3 tri-beads onto the doubled ribbon. I like to alternate colors, such as red/clear/red...green/light green/green, etc.
Tie an overhand knot at the cut ends.
Sew the knotted end to the point of the ribbon tag, then push the tri-beads down to the point.
Make a nice bow out of more of the narrow ribbon, or wider ribbon - whatever you have and want to use to make it pretty - this is where you can get creative! Make more than one bow...make a rosette...make a ribbon rose! Sew the bow to the tag, over the knotted hanger ribbon.
To make the card, use a piece of white or colored cardstock. Using the ribbon tag, mark the width and length for the card, allowing for an inch or so to stick up out of the pocket. Make sure you don't make the fit too loose or too tight - you want the card to slide in easily, but not so small that it falls out! Use a rotary cutter/ruler/mat to cut to the desired size, or a paper trimmer, or scissors, and then check the fit.
Decorate your card, slip into the ribbon tag pocket, and tie onto your package! Many people who receive these ribbon gift tags replace the cards with small gifts or candy and hang them on their Christmas trees for years to come, or they can make a new card and recycle them for their own gift-giving!
If you don't want to decorate your own cards, you can find lots of printables for free. I just found these cute ones on Nest of Posies' site, via the Sew, Mama, Sew November 3 - Gifts for Travel post.
I hope you enjoy this tutorial and it inspires you to get creative with your gift-tagging endeavors!


