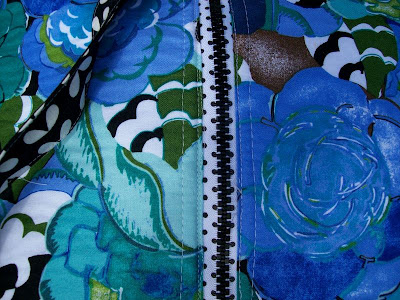
This kids needed a Binky leash the other day, so I decided to whip one up. Even though it's a basic, easy-to-create item, I looked for tutorials anyways. The ones I found invariable used the suspender/mitten clips. I knew I had a package of these clips *someplace* but being lazy, I didn't want to look for them, and besides, I know they are kind of a pain to quickly clip on and off (your shirt, blankie, car seat). So I started looking around my sewing machine area and found a stray Jumbo Wonder Clip! I snatched it up and, sure enough - there was a hole in one end! I quickly whipped up a leash! It was cute and we left for an outing soon after. I sat in the back seat with Aubrey and she kept playing with the leash. She also had a little toy attached to the carseat that was a triangle of plush fabric, with the popular folded ribbon detail. I decided to combine the two ideas! So I made a second one this morning, and here's the result!
Want to create your own? Here's what you need:
- Two strips of fabric, 1 1/2" x about 16" (length is your choice)
- Two coated elastic hair ties
- Ten to fifteen 2 1/4" lengths of ribbon (grossgrain or other sturdy, washable, non-wired ribbon)
- One Clover Jumbo Wonder Clip - you can purchase these from many sources, including this one: http://www.sewthankful.com/Jumbo-Wonder-Clips-Clover-3157.html
- Thread, sewing machine, rotary cutter/mat/ruler
Fold each piece of ribbon in half and pin them to the long sides of one fabric strip. If you've followed my cutting requirements, the ribbons will be short enough so they won't get caught in the opposite seam when sewn.
Place the remaining strip, RST, on top of the first strip and pin in place. Fold the short ends of each strip under 1/4" and pin in place.
Sew both long sides, using a scant 1/4" seam allowance (do not sew across the short ends). This will prevent the folded edges from catching in the opposite seam. Using your favorite turning tool (I used the old, trusty standby - a safety pin), turn the tube rightside out, and press.
Grab your hair ties. If they have a metal connector, cut it out for safety's sake. If they don't have a metal connector, you can leave them in one piece, fold in half, and insert the ends inside each end of the tube, with the hair tie sticking out to the desired length. I threaded one hair tie through the Jumbo Wonder Clip before I inserted it into the tube, and left the other hair tie sticking out a bit farther so I could maneuver the pacifier through the loop after-the-fact, since you might want to change pacifiers.
With the hair ties in place, edgestitch all the way around the leash. Loop through the pacifier, and you are done!
My hubby suggested you could use ribbon instead of fabric for the leash. Yes! You could! I might have to make one like that just for the heck of it!
I LOVE the Clover Wonder Clips -both the regular and the jumbo. I use them all the time instead of pins - no more poking my fingers! I'm glad I thought of this new way to use them :-) I think, especially when attaching your leash to a car seat, these clips just make it so much easier than using the suspender/mitten clips. Why not give it a try?


